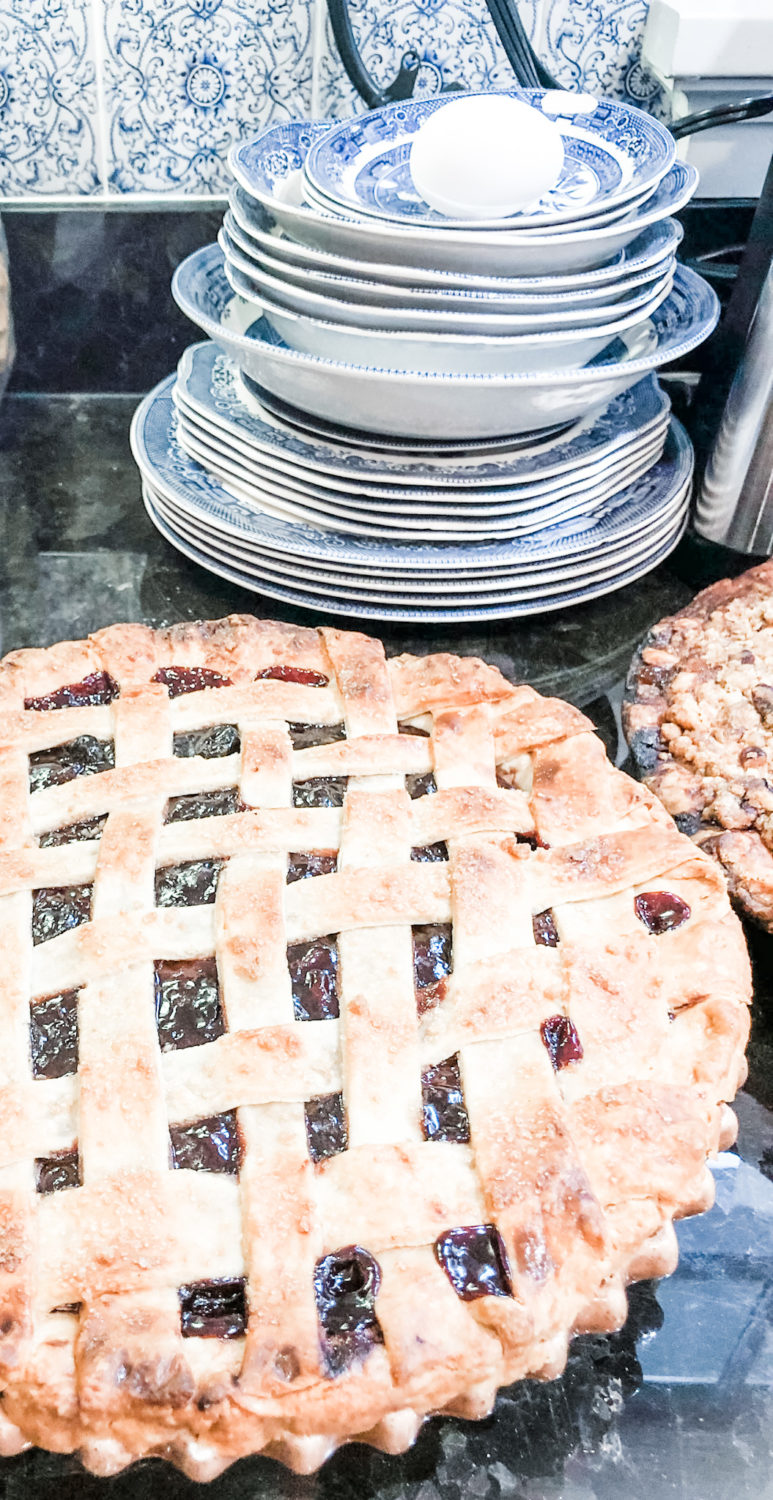
This pie recipe is not only urban folklore, it’s a rite of passage in my family. My mother has made this pie for as long as I can remember. It is a long, twisting road of a recipe – but well worth the trip!
From my family to yours … enjoy.
Let them eat pie!
-Liz
Micki’s Cherry Pie Recipe
Arrange oven rack to the lowest place in oven. Put a cookie sheet on the lowest rack in oven and pre-heat to 425 degrees for at least 40 minutes prior to baking pie.
For Filling:
1 can Extra Fruit Cherry pie filling
1 can tart pie cherries, drained and juice saved
1 c. dried cherries
1 c. frozen Bing cherries, thawed
1/3 c. white sugar
1/3 c. dk. brown sugar
1/8 t. table salt or 1/4 t. kosher salt
1/4 t. cinnamon
2 T. unsalted butter
corn starch
bottled pure cherry juice (or Pomme pomegranate juice for a more tart filling)
1/4 C. amaretto liquor (Disaronno) or 1 tsp. almond extract if you don’t have amaretto
Measure drained juice from tart pie cherries and discard. Measure that exact amount of the bottled pure cherry juice, set aside. Put dried cherries in a small pan with amaretto (or cherry juice if not using amaretto) and heat gently over low heat. Remove from heat and let steep while you put the rest of the recipe together. Put all other cherries into a large pot. Add sugars, cinnamon, almond extract and salt. Add steeped dried cherries and all their liquid to the pot. Bring slowly to a boil, stirring constantly. At this point, taste to see if more sugar or salt is needed. Make a slurry of cherry juice and cornstarch, (start with 2 T. of cornstarch and 3 T. juice), add to cherry mixture. Stir until mixture is thick but not stiff. Add more slurry mixture if not thick enough. It will thicken up as it cools. Add butter, one tablespoon at a time, stirring constantly until butter is fully incorporated and sauce is glossy. Make sure filling completely cools before putting in raw pie shell. (Pro tip: once pie crust is rolled and put in pie pan, store in freezer while the filling is being prepared.) Once filling has been cooled and added to pie shell, use extra dough to roll out and cut lattice top, add to top of pie, and brush with cream and sprinkle with raw sugar before baking. Set pie on pre heated cookie sheet and bake for 40 to 50 minutes. Put a ring of foil over outside crust if it’s getting too brown. Cool to room temperature before serving.
For Crust:
2 1/2 cups unbleached all-purpose flour, plus more for dusting work surface
2 tablespoon sugar
3/4 teaspoon table salt or 1 tsp. kosher salt
6 tablespoons chilled solid vegetable shortening or lard
6 tablespoons cold unsalted butter, cut into 1/4-inch pieces (pea sized)
6-8 TBSP. Iced vodka or ice water, add 1 tbsp at a time (Mind to not add any ice to dough)
Mix flour, sugar, and salt in food processor fitted with steel blade. First add lard to dry ingredients in food processor. Pulse with only lard until mixture resembles coarse cornmeal. Next scatter butter (pea sized) over mixture and pulse until incorporated, 10 to 15 seconds. Next add ice cold vodka, 1 tbsp at a time, to mixture and pulse 3-4 times. Keep adding vodka and pulsing just until dough forms a ball. Note: depending on humidity you may not always use entire amount of liquid or sometimes you may need more. Just be aware to not over work the dough or make it too crumbly or too wet. Once dough forms a ball and is still slightly crumbly turn mixture onto plastic film and gently press dough together into a 4″ disk, lightly dust with flour and wrap tightly and rest for 30-60 minutes. If the weather or kitchen is warm, let dough rest in refrigerator.
Roll dough on lightly floured surface into 13-inch circle and transfer to 9-inch pie pan, preferably glass. Press dough into corners and sides of pan, being careful not to stretch dough. Trim edges of dough to make 1/2-inch overhang. Tuck overhanging dough under so that folded edge is flush with rim of pan and press right index finger between left index finger and thumb to create scalloped crust. Proceed with adding cooled filling and lattice top as per earlier instructions.

